Hey guys!
So it’s taken me an absolute age but I wanted to finally get round to showing you the finished bathroom! Unfortunately I can’t find any pictures of the before but it’s a very modest style bathroom and though the decor wasn’t awful – no green suites or anything. It just wasn’t what we would have chosen and just didn’t really have any personality to it. The couple living here before us had also been elderly meaning there were lots of handles and rails for support which over time had developed rust . . just not your ideal bathroom situation shall we say! One thing that bugged me so so much about the previous bathroom … well two things, were the lack of storage ( we now have a lovely bathroom cabinet) and the radiator. We used to have a small one under the window that really made the room feel so much more cramped, plus it was a super retro style – not in the good way – and had also got signs of the beginnings of rust. So began our DIY bathroom makeover!
THIS POST CONTAINS AFFILIATE LINKS & GIFTED ITEMS
Click on the images below to shop!
Our DIY Bathroom Makeover
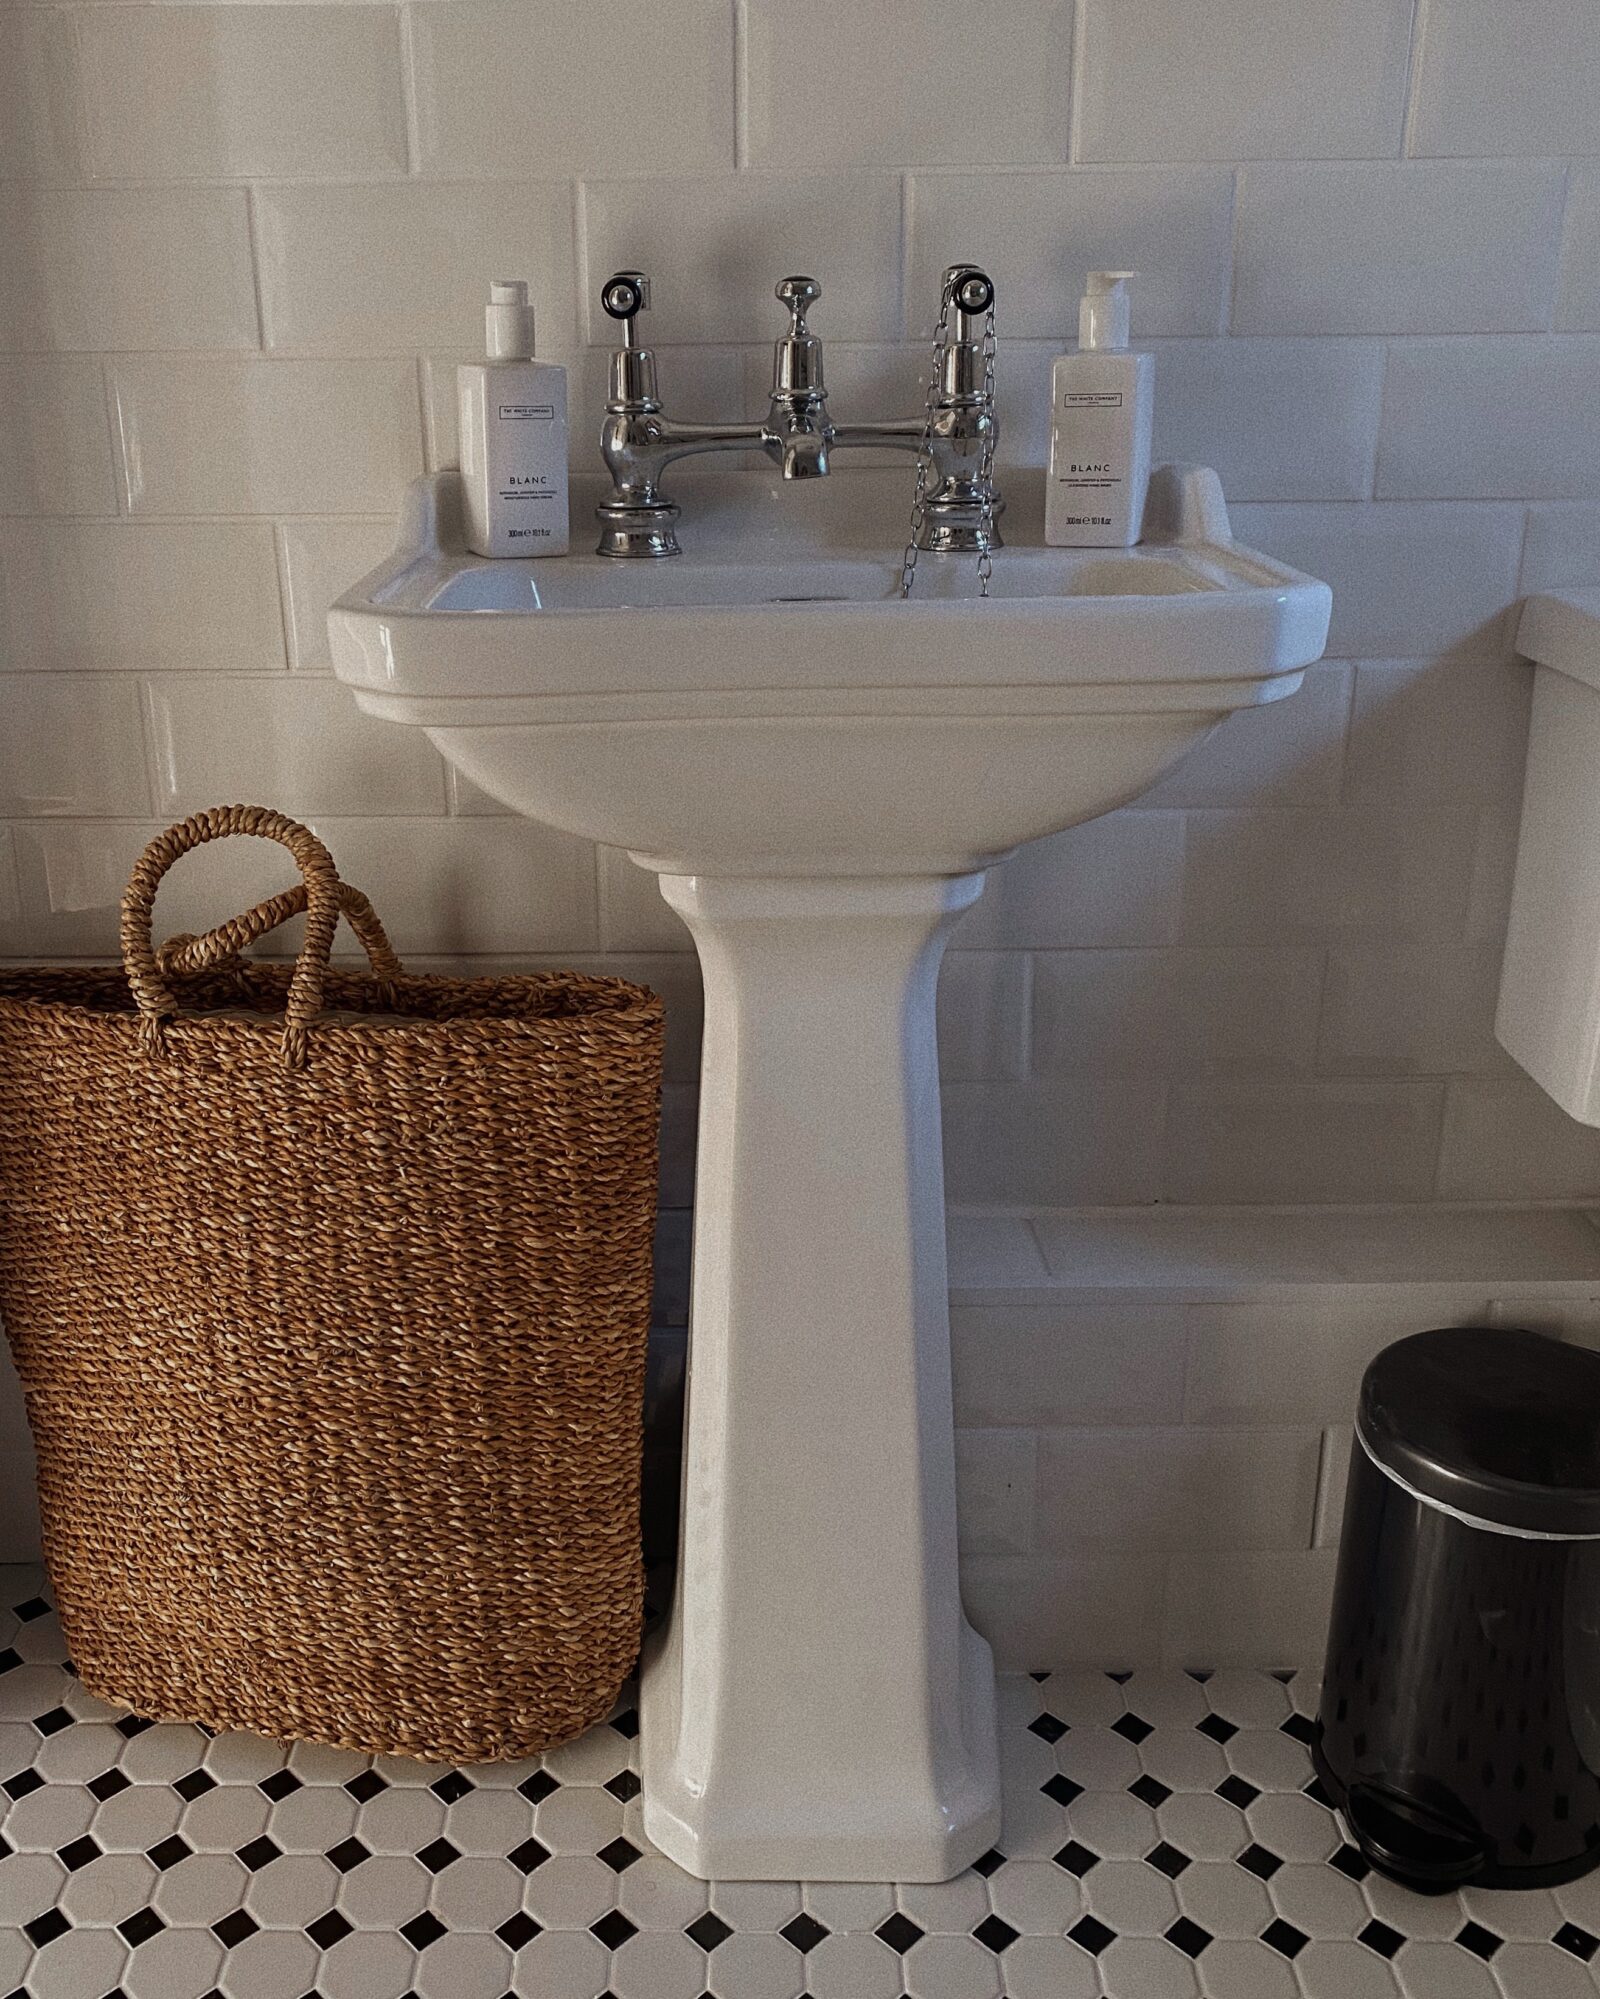
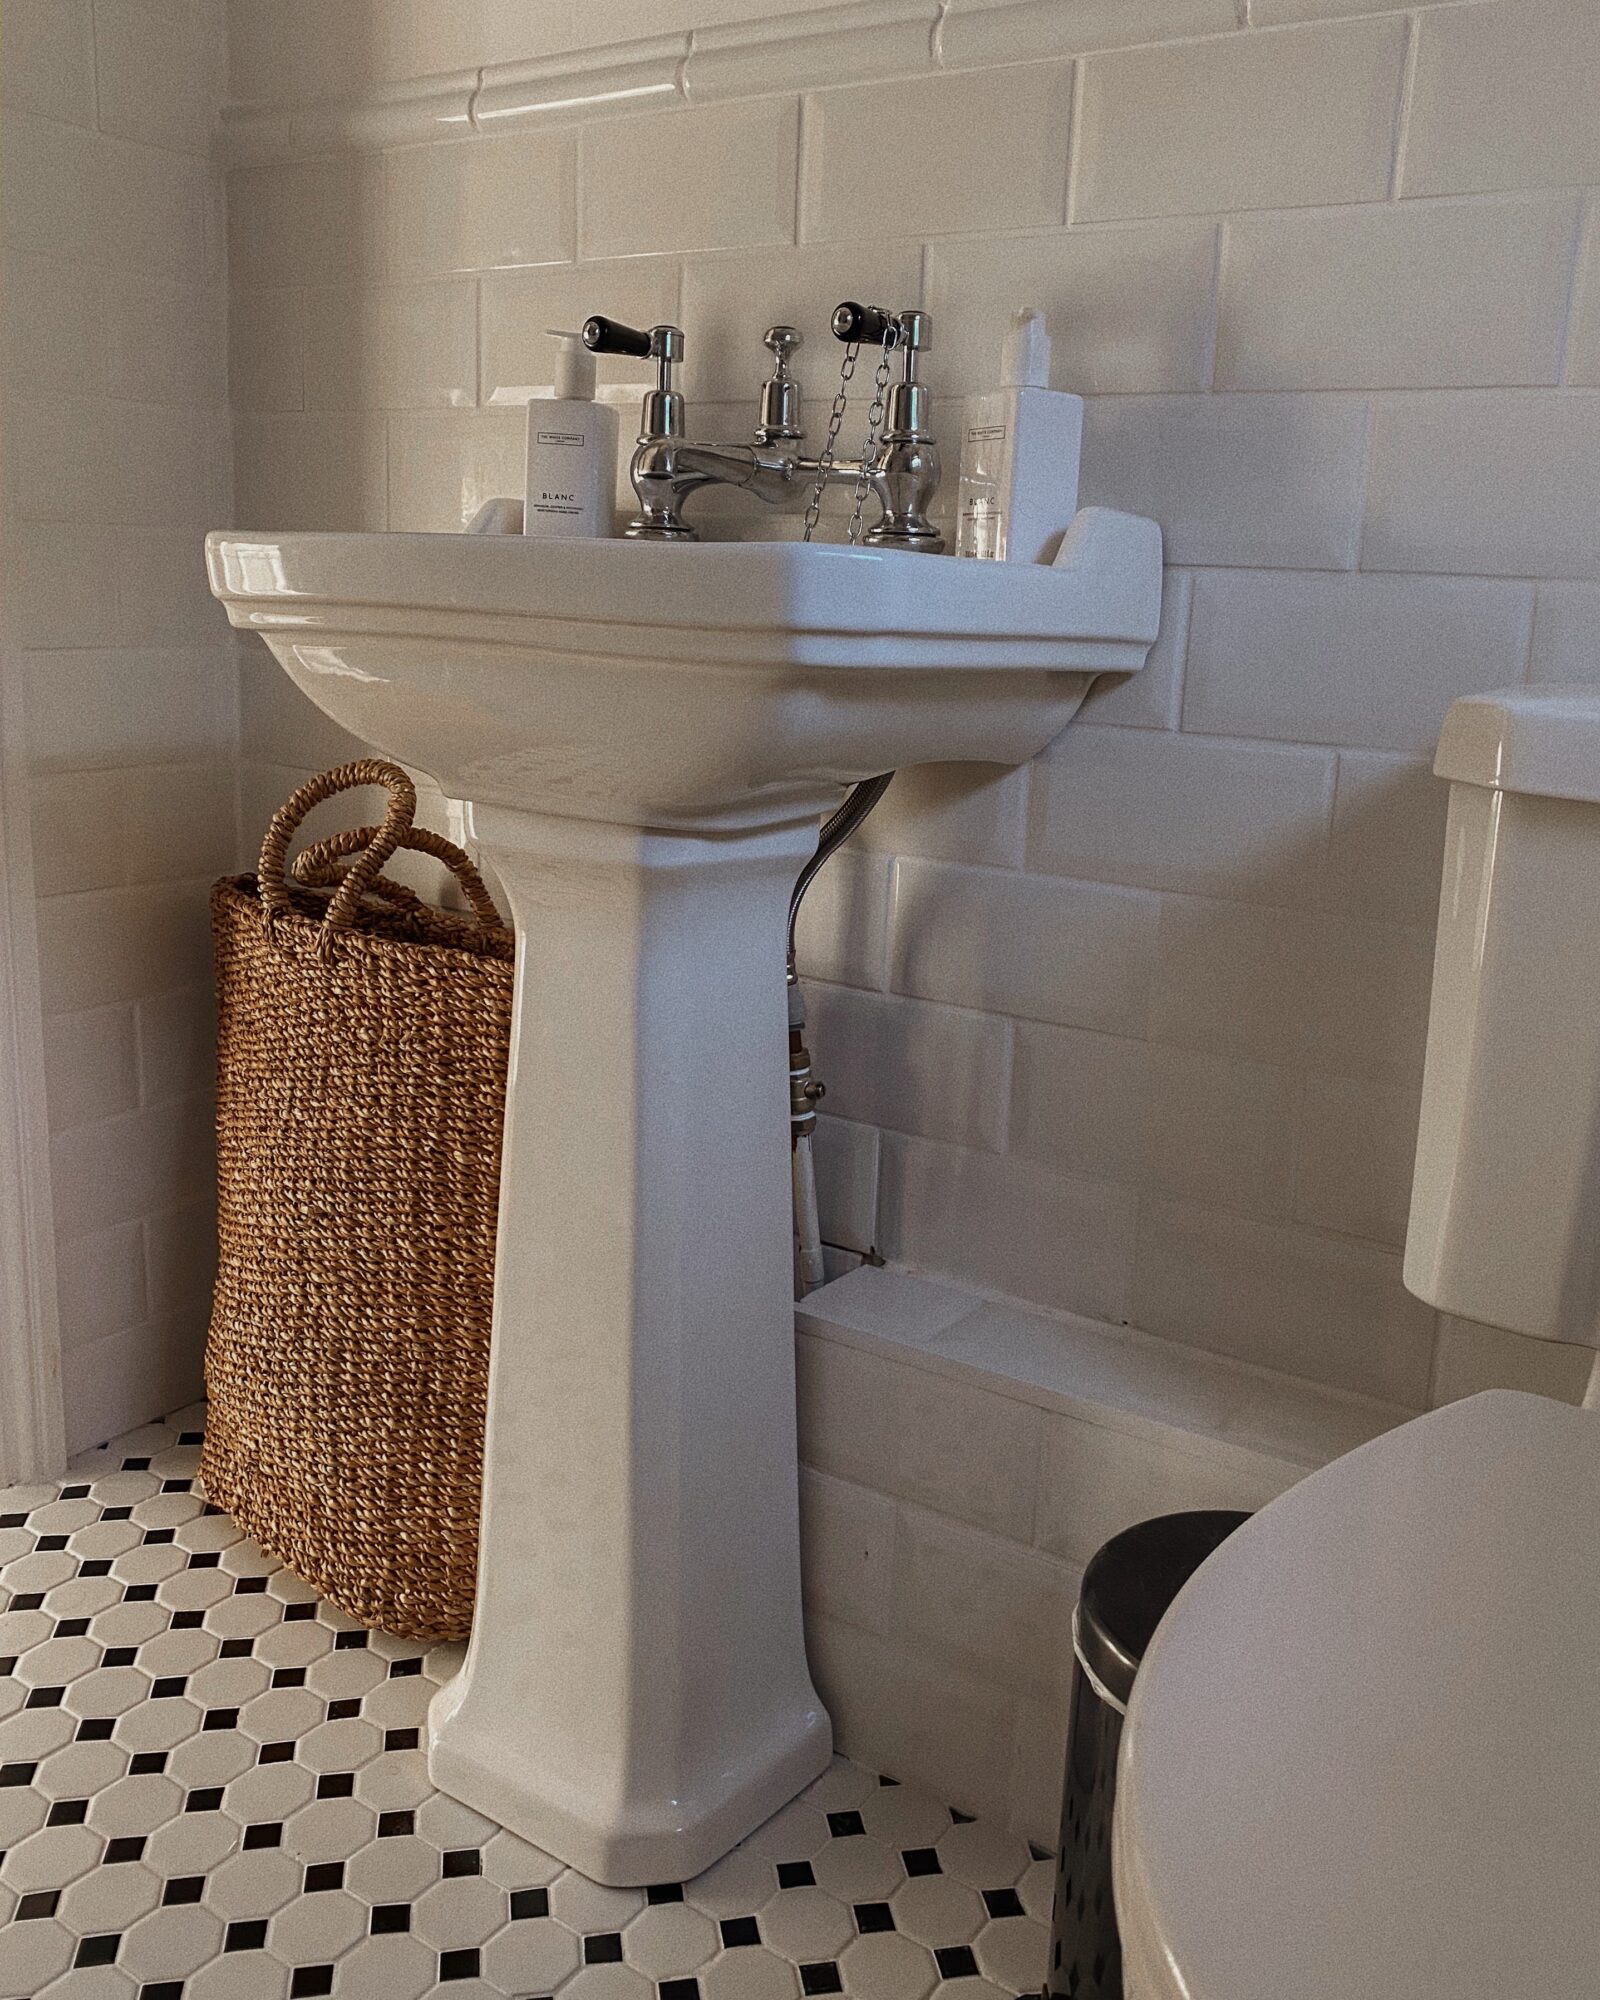
So I thought rather than one big block of text I would add a ton of images of the bathroom in and talk you through each image so i don’t forget anything. We got all of our tiles from Topps Tiles. They super generously provided us with the tiles which we had already selected and were about to hit pay with which was amazingly generous of them! We actually ended up buying a lot more from them like the cement board and finishings which i will explain as we go through! We went for the classic metro tiles on the wall, what I really love about this style is the way they have the 3d bit that comes out which creates such a lovely effect! I wanted it to be super classic and simple so we went with white grout instead of the black/grey. For the floor tiles we couldn’t agree on one but eventually I won Jack round! I love the monochrome tiles as I think they’re super classic but as our bathroom is on the small side, I thought anything bigger would look too dark and make the room feel smaller. I think the two sets of tiles work perfectly together!
This really was a DIY Bathroom Makeover so Jack did everything himself and I think he did amazing job considering he had never done anything like this before, never tiled or done plumbing, he taught himself it all and it’s come out just as we had hoped!
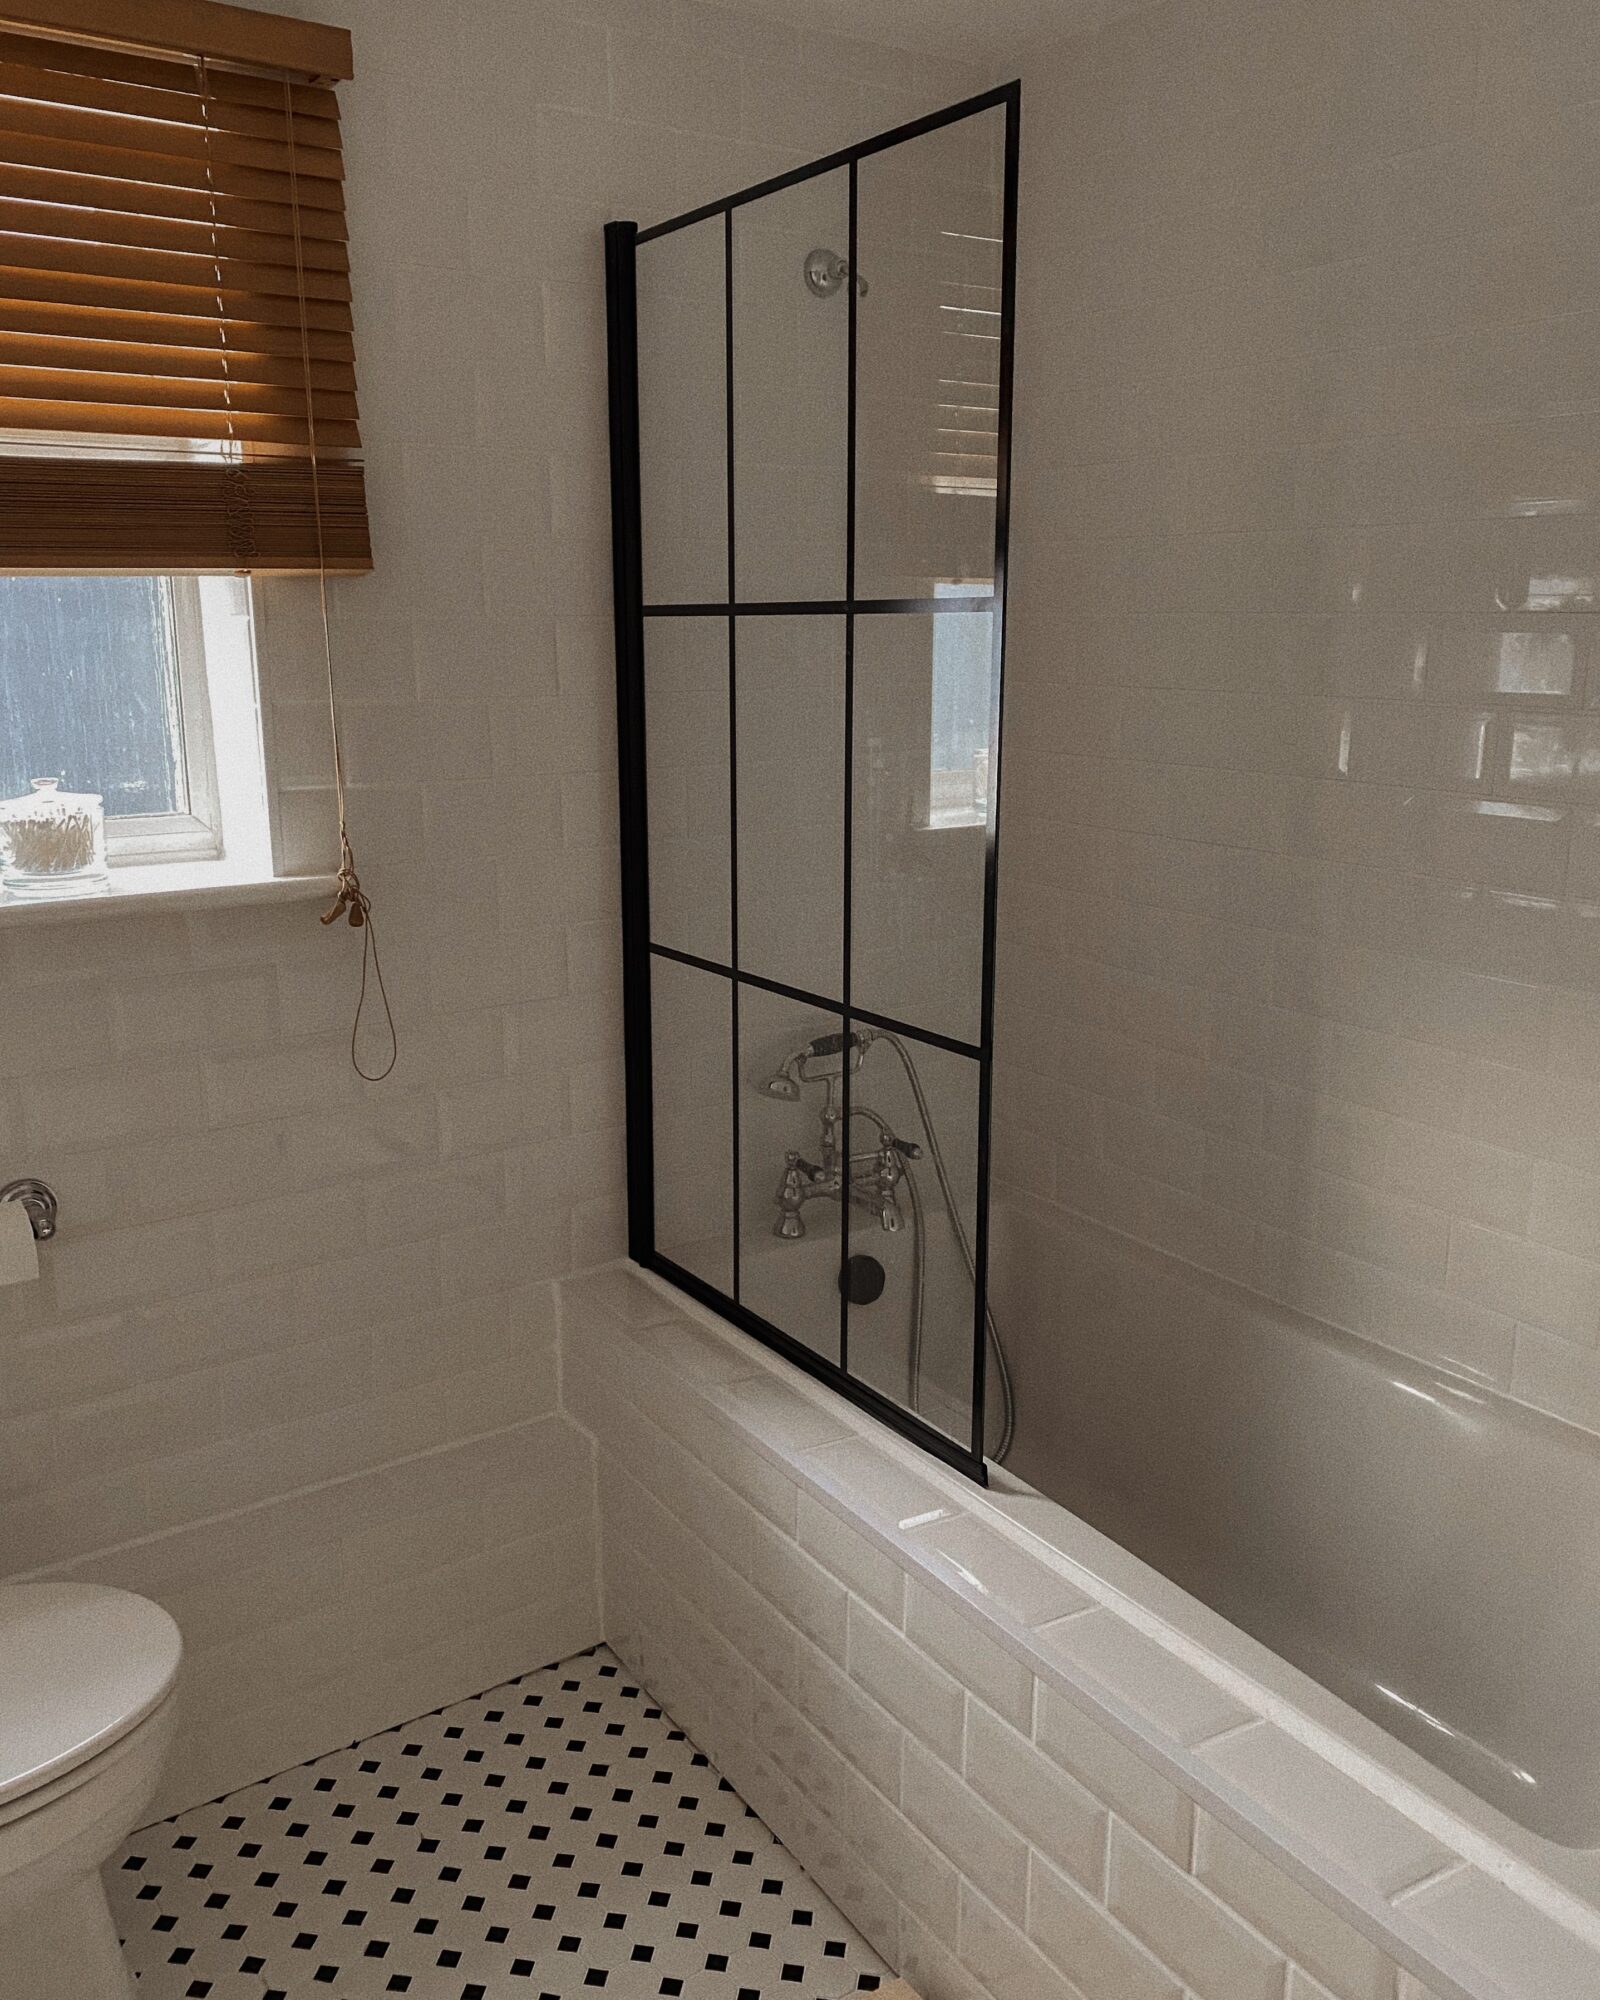
We picked a wooden blind from John Lewis to add a bit of warmth back into the room as the rest is very monochrome and I’ve always wanted some little glass pots with cotton wool balls and cotton buds in like the fancy hotels so I fulfilled my bathroom dreams with these little White Company Pots.
We wanted the bath to look built in and I wasn’t too keen on any of the bath panels so Jack used cement board to build a frame to go around the bath and then tiled it to give the built in effect. He also removed our old radiator by the toilet and boxed in all of the pipes in the same way. I love how clean and tidy it all looks!
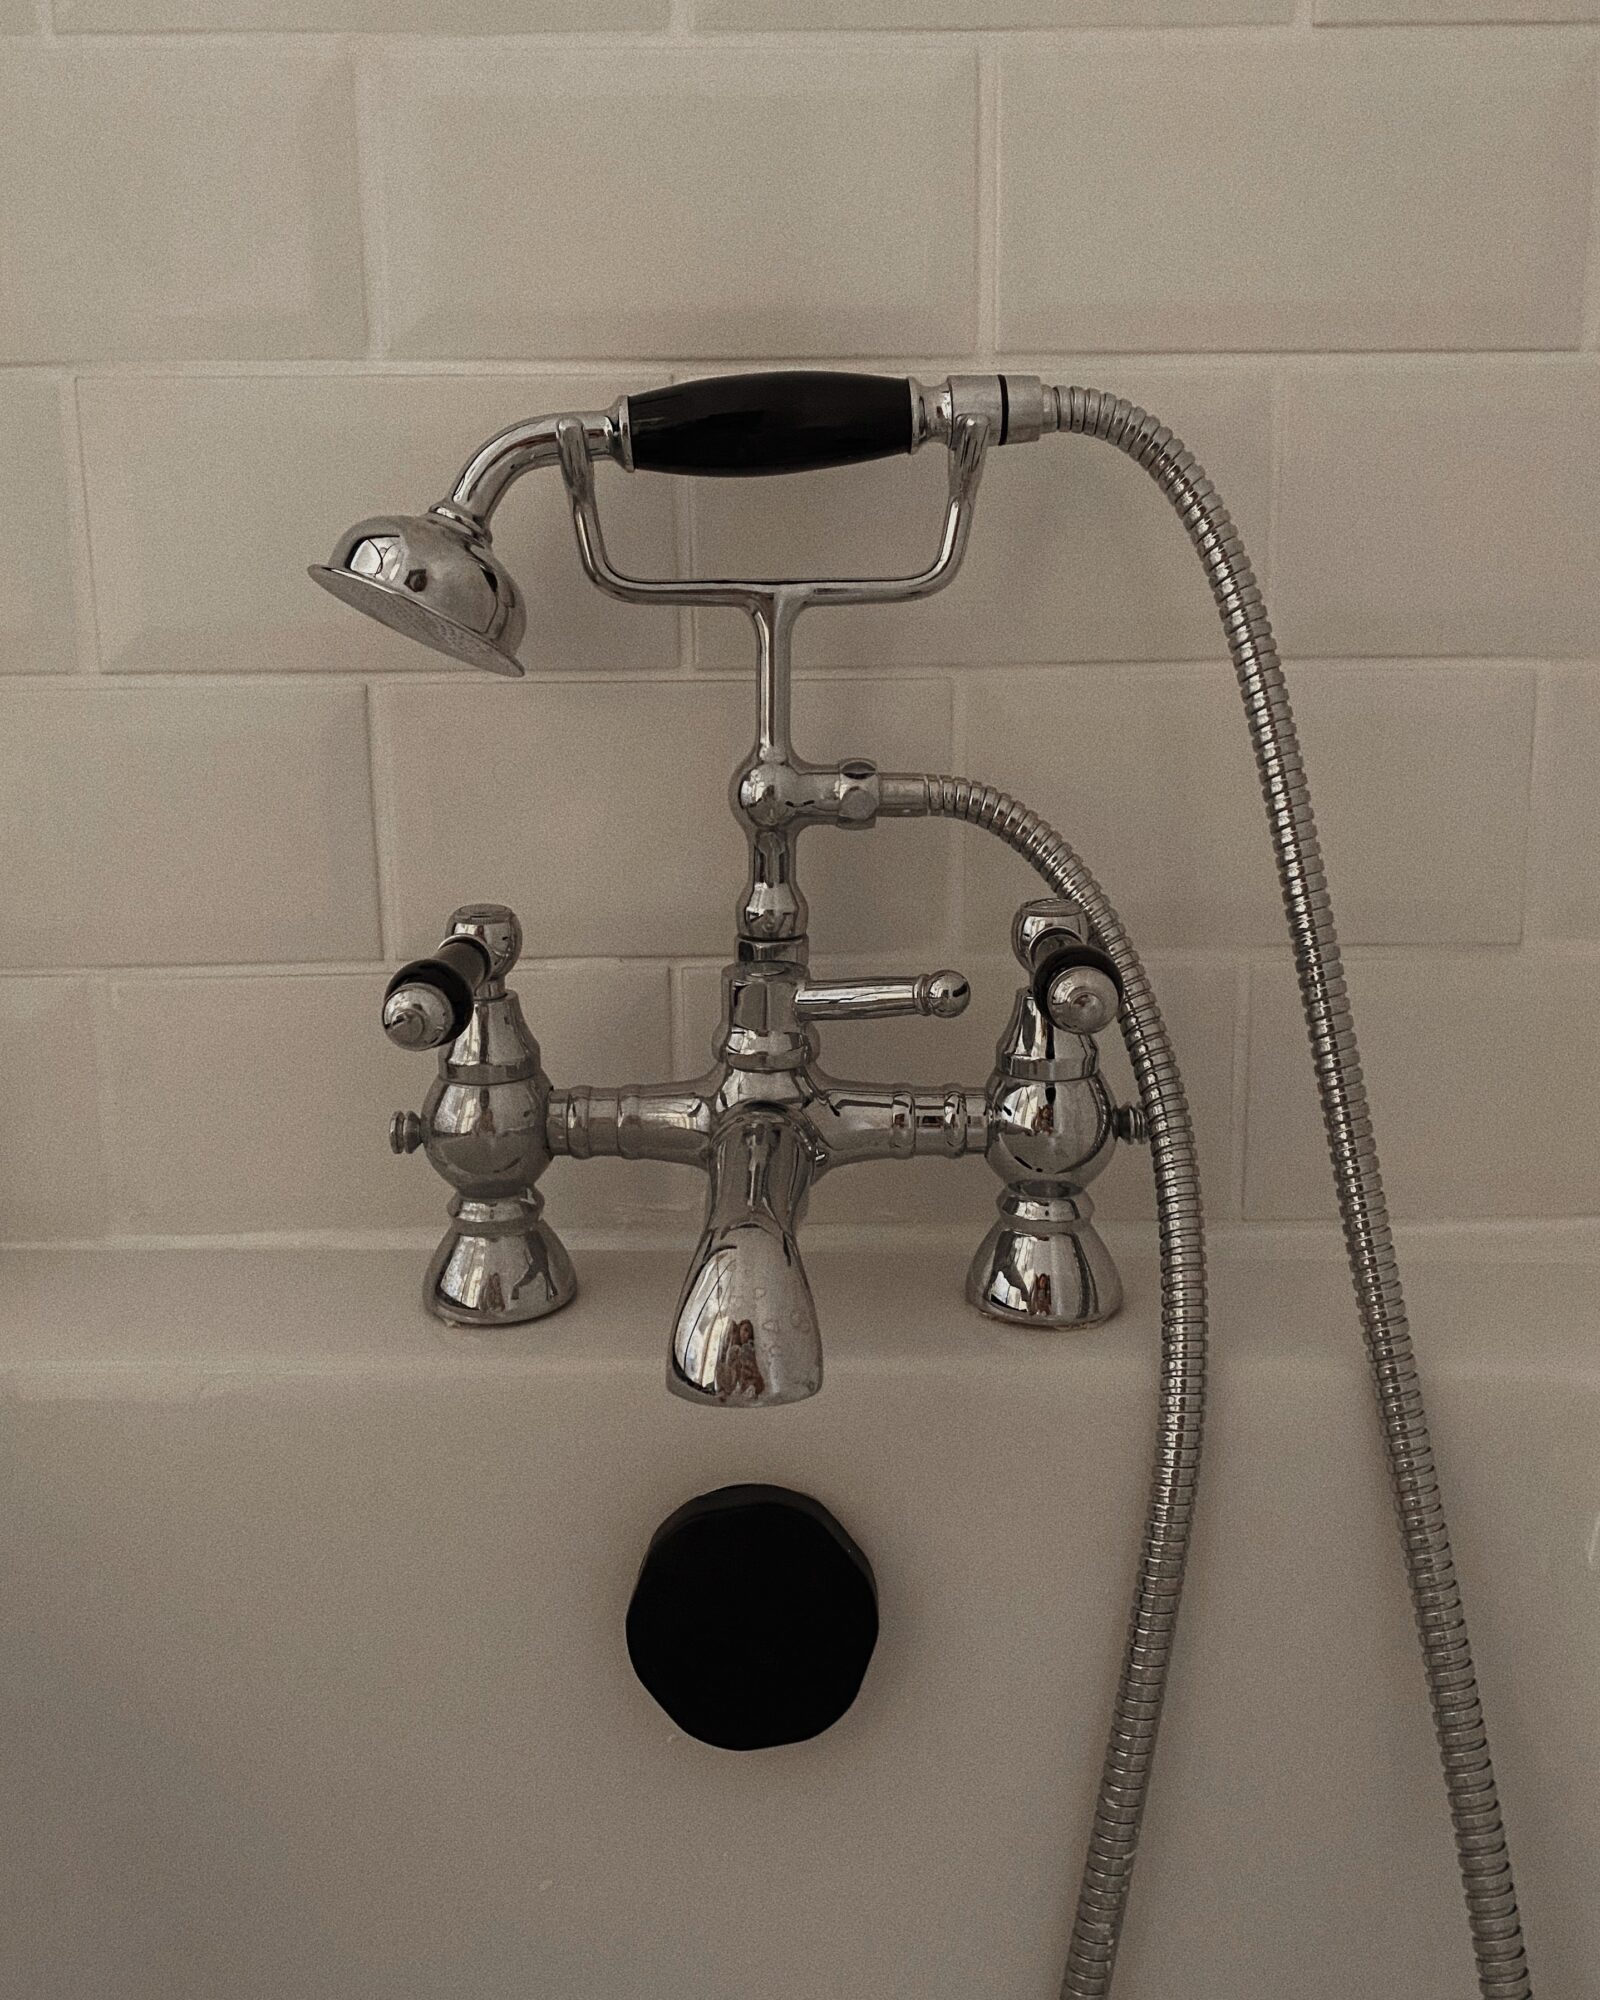
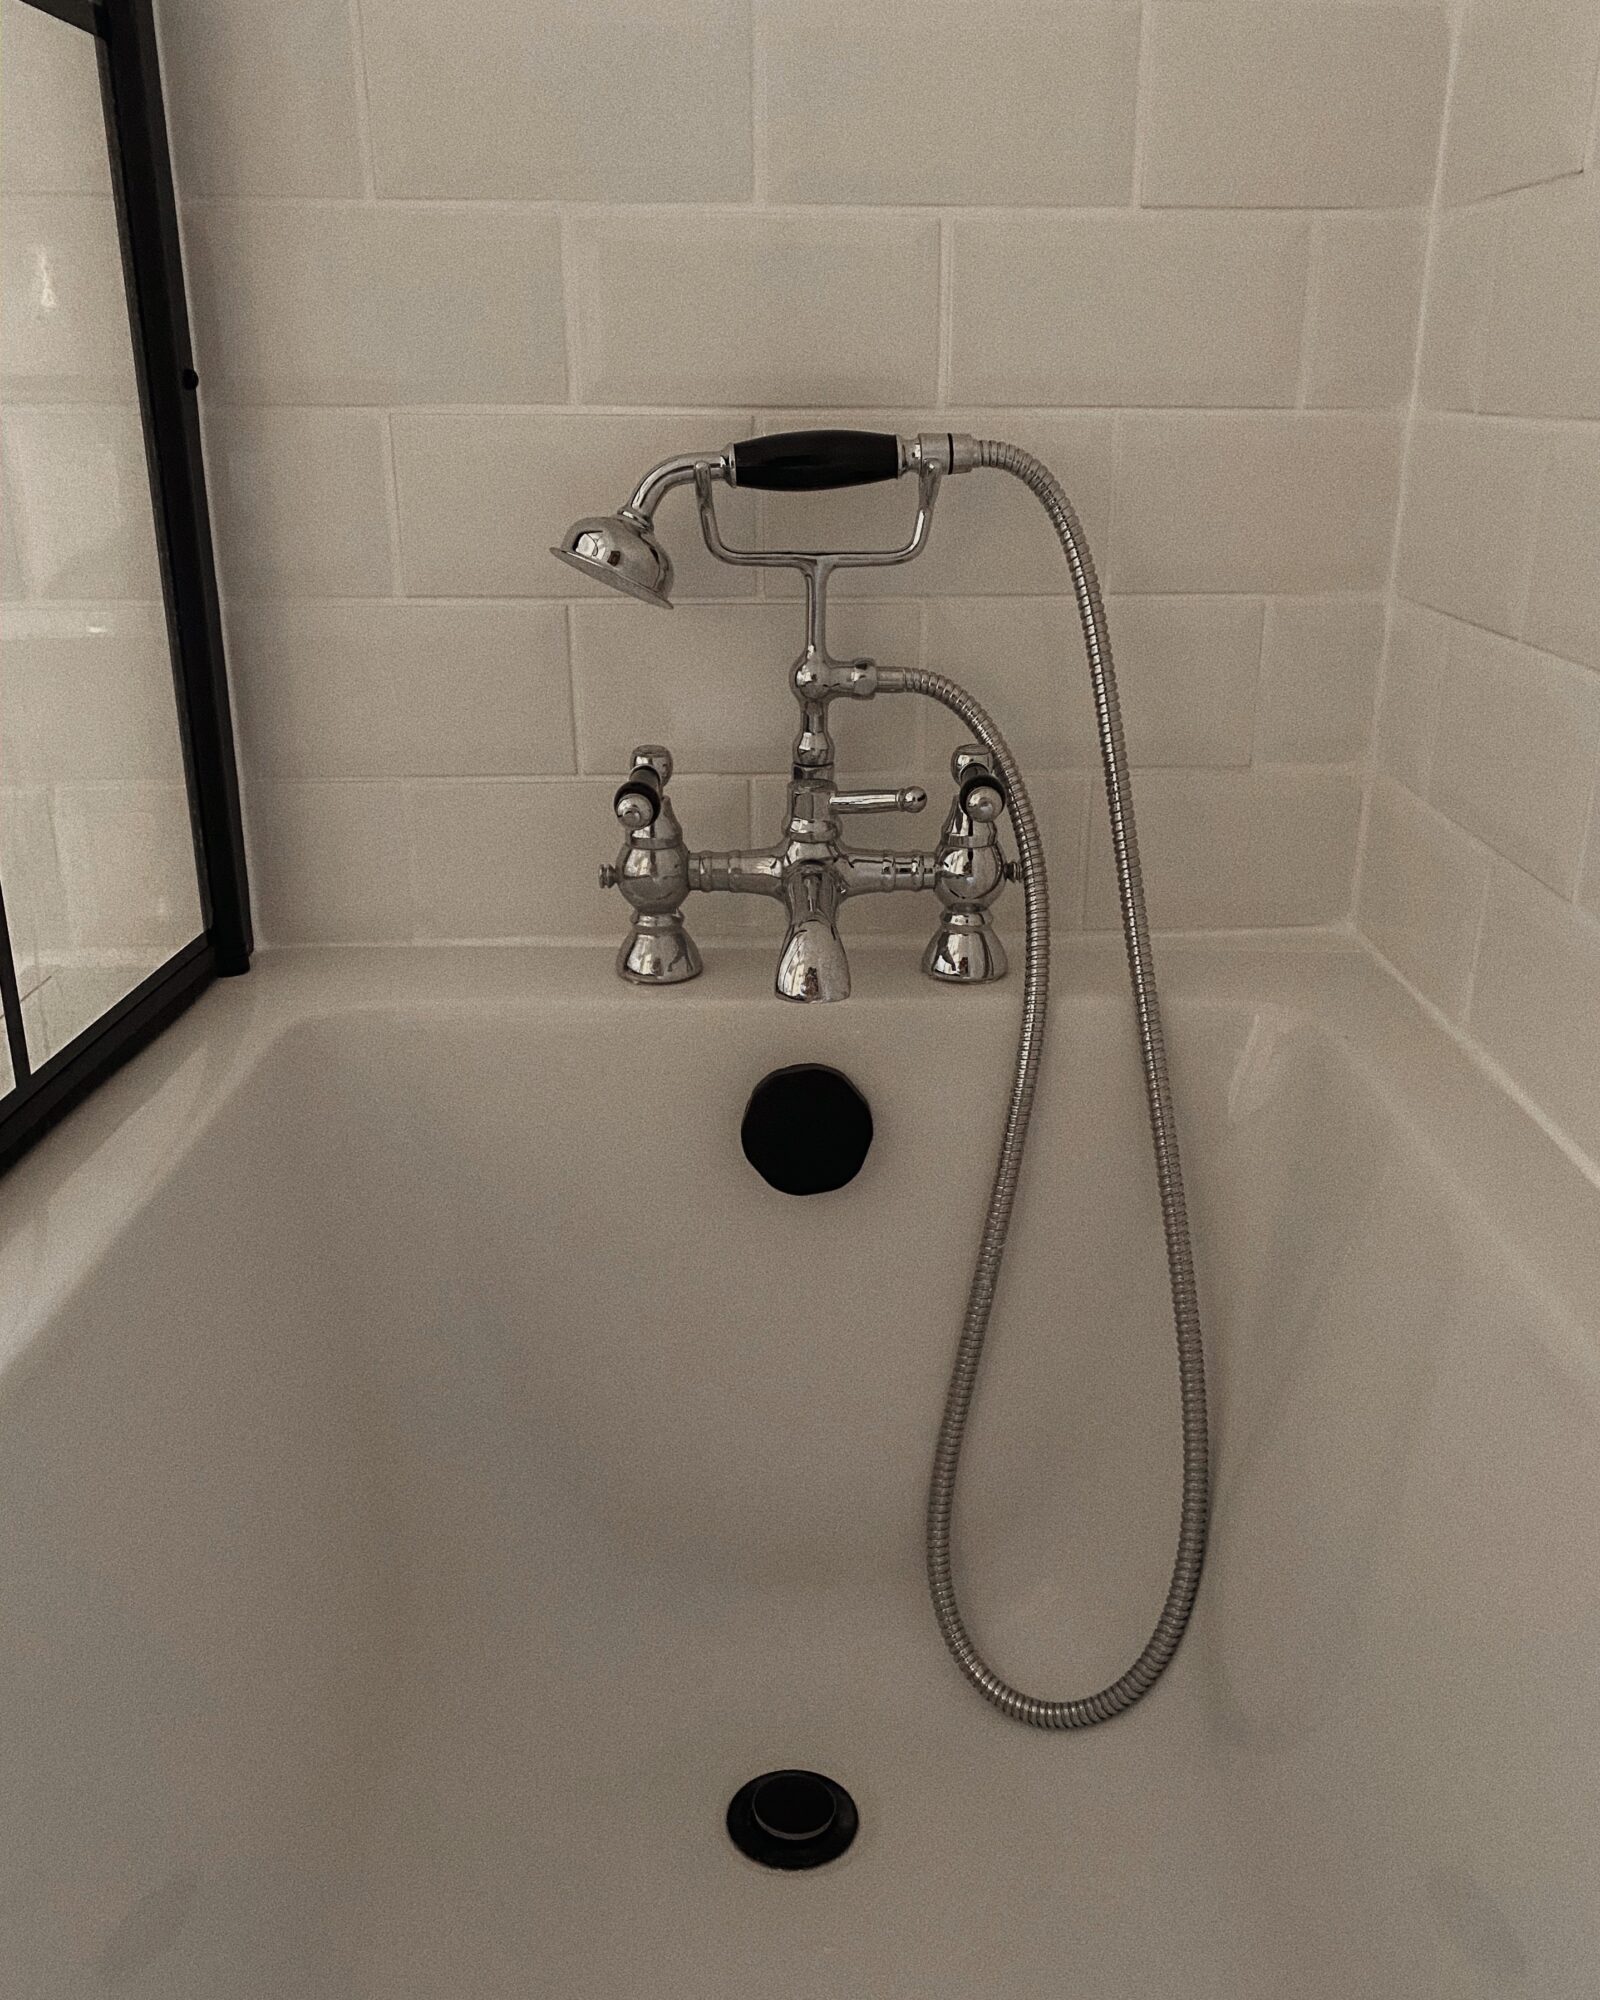
For the bath and shower we were so torn. We had originally wanted a free standing bath but it just wasn’t going to work in the space we had plus with Jack doing it all himself we didn’t really want to move any of the taps etc. In the end we thought the shower/bath combo was our best, most practical option and we went with some fancy old fashioned looking taps to make it feel more special. I’m super torn on the bath screen however! We went for this one to add to the monochrome effect and tie in the flooring but I had expected it to come as window panes, however in real like it is actually vinyl. You’ll notice that throughout this post I won’t be recommending where we got our bathroom suite from. Unfortunately we had a terrible experience with Victorian Plumbing and most of the pieces we got you can find at other bathroom stores so I would recommend doing that!
Click on the images below to shop!
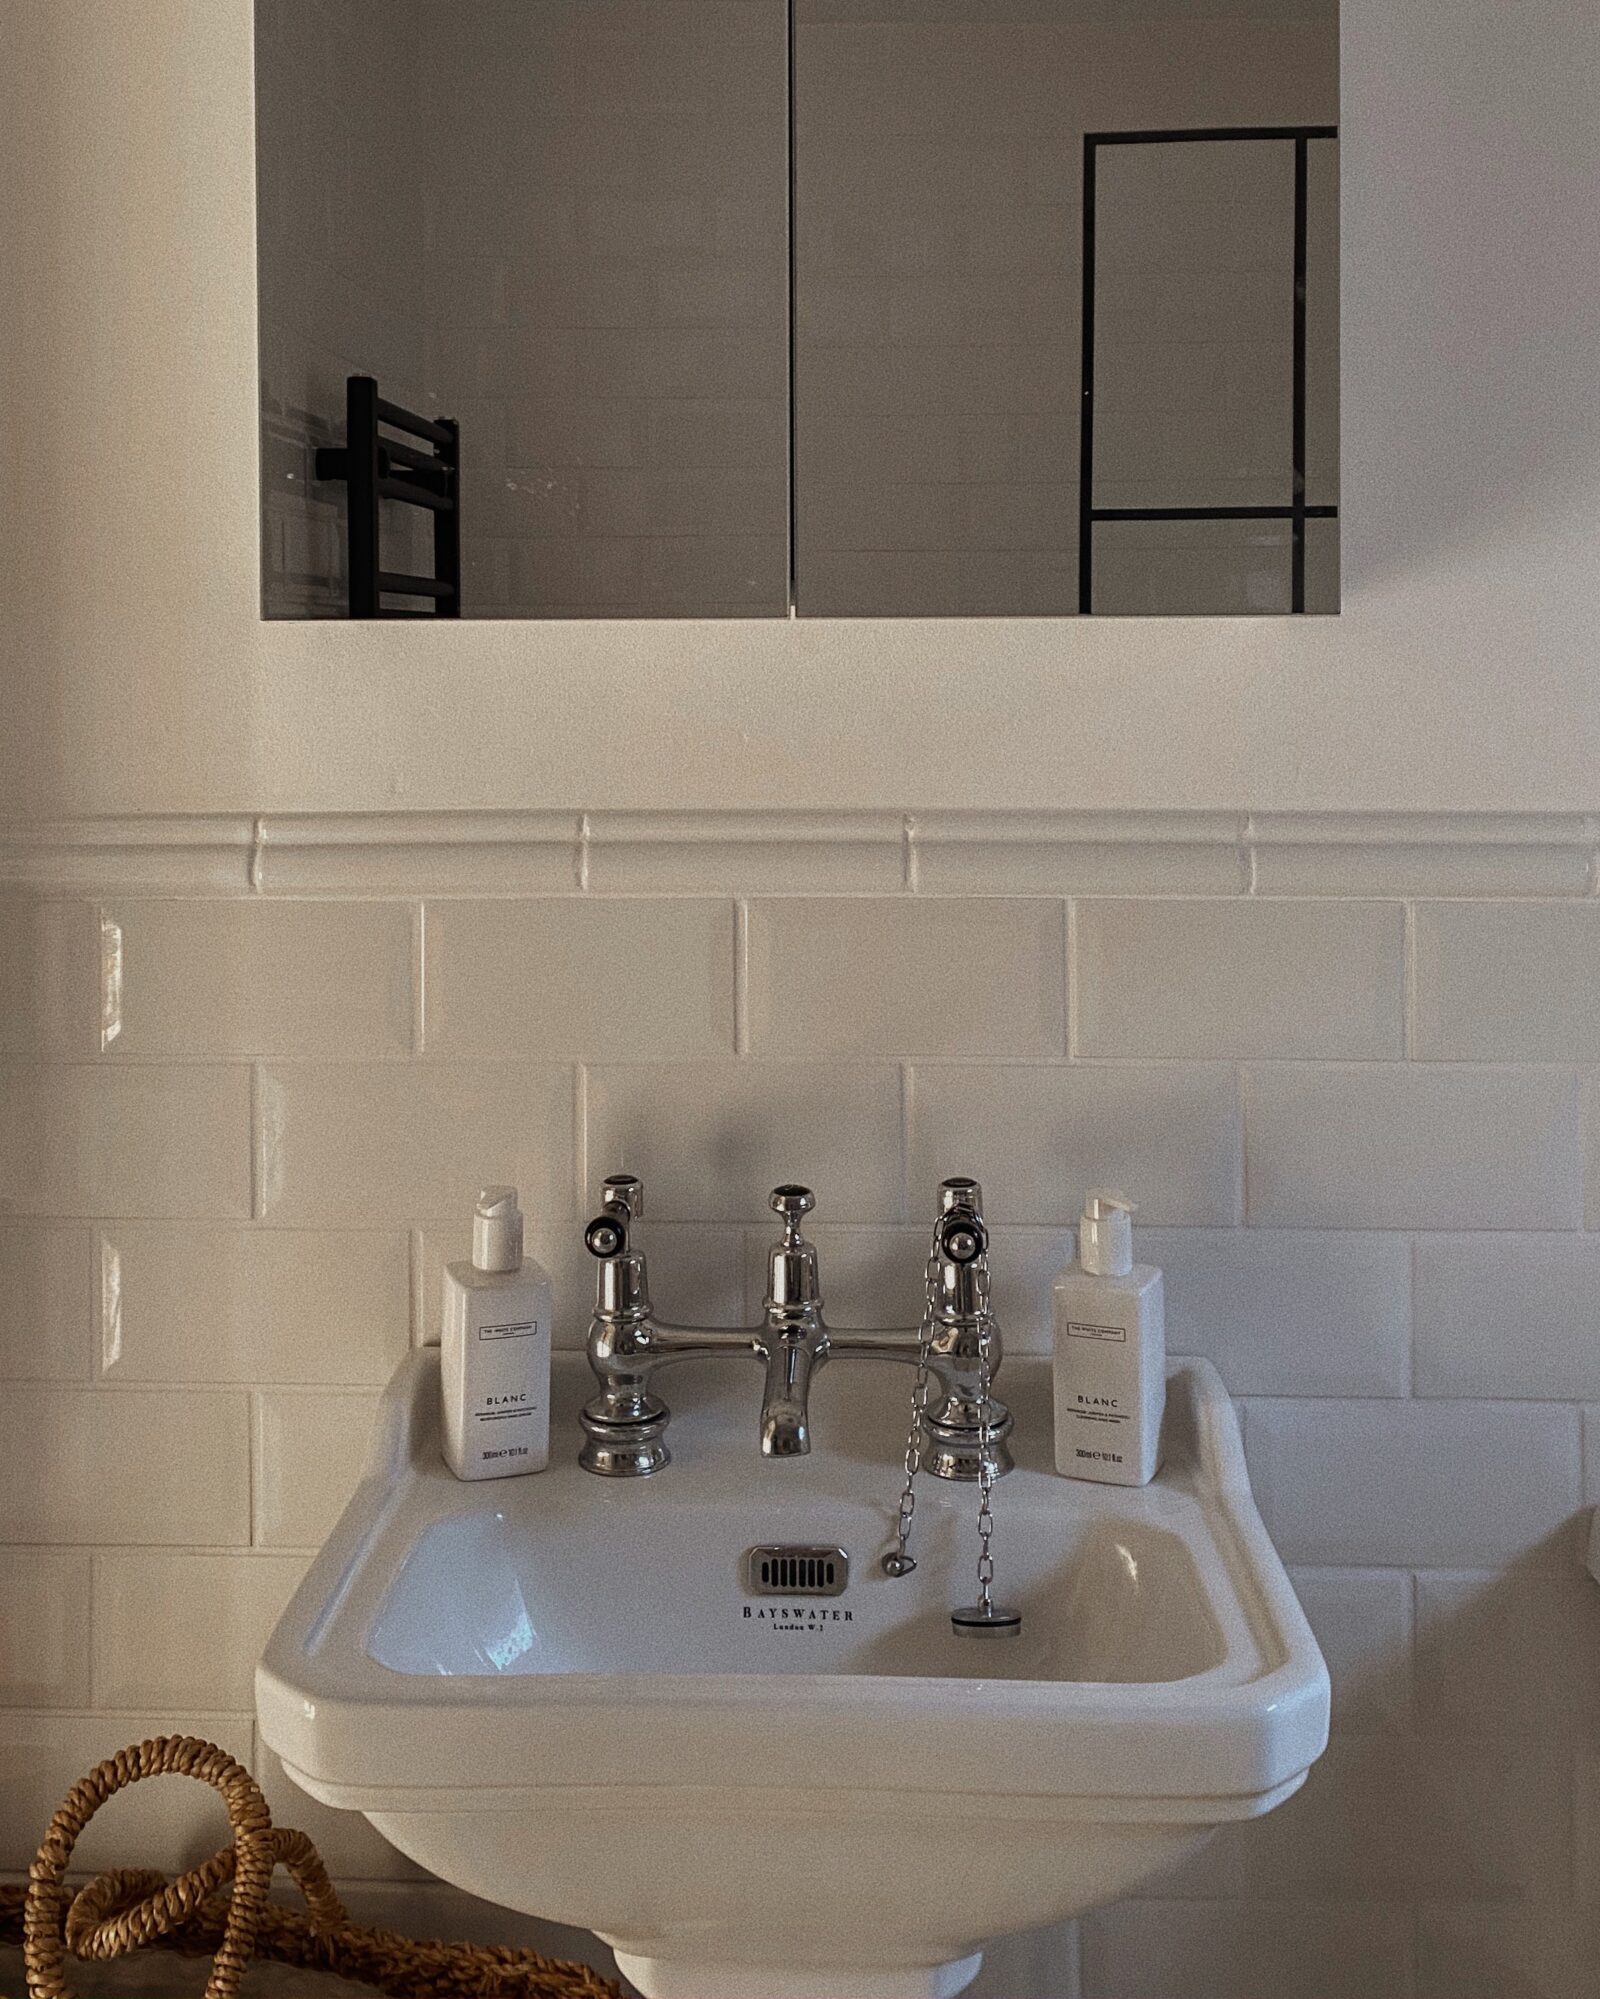
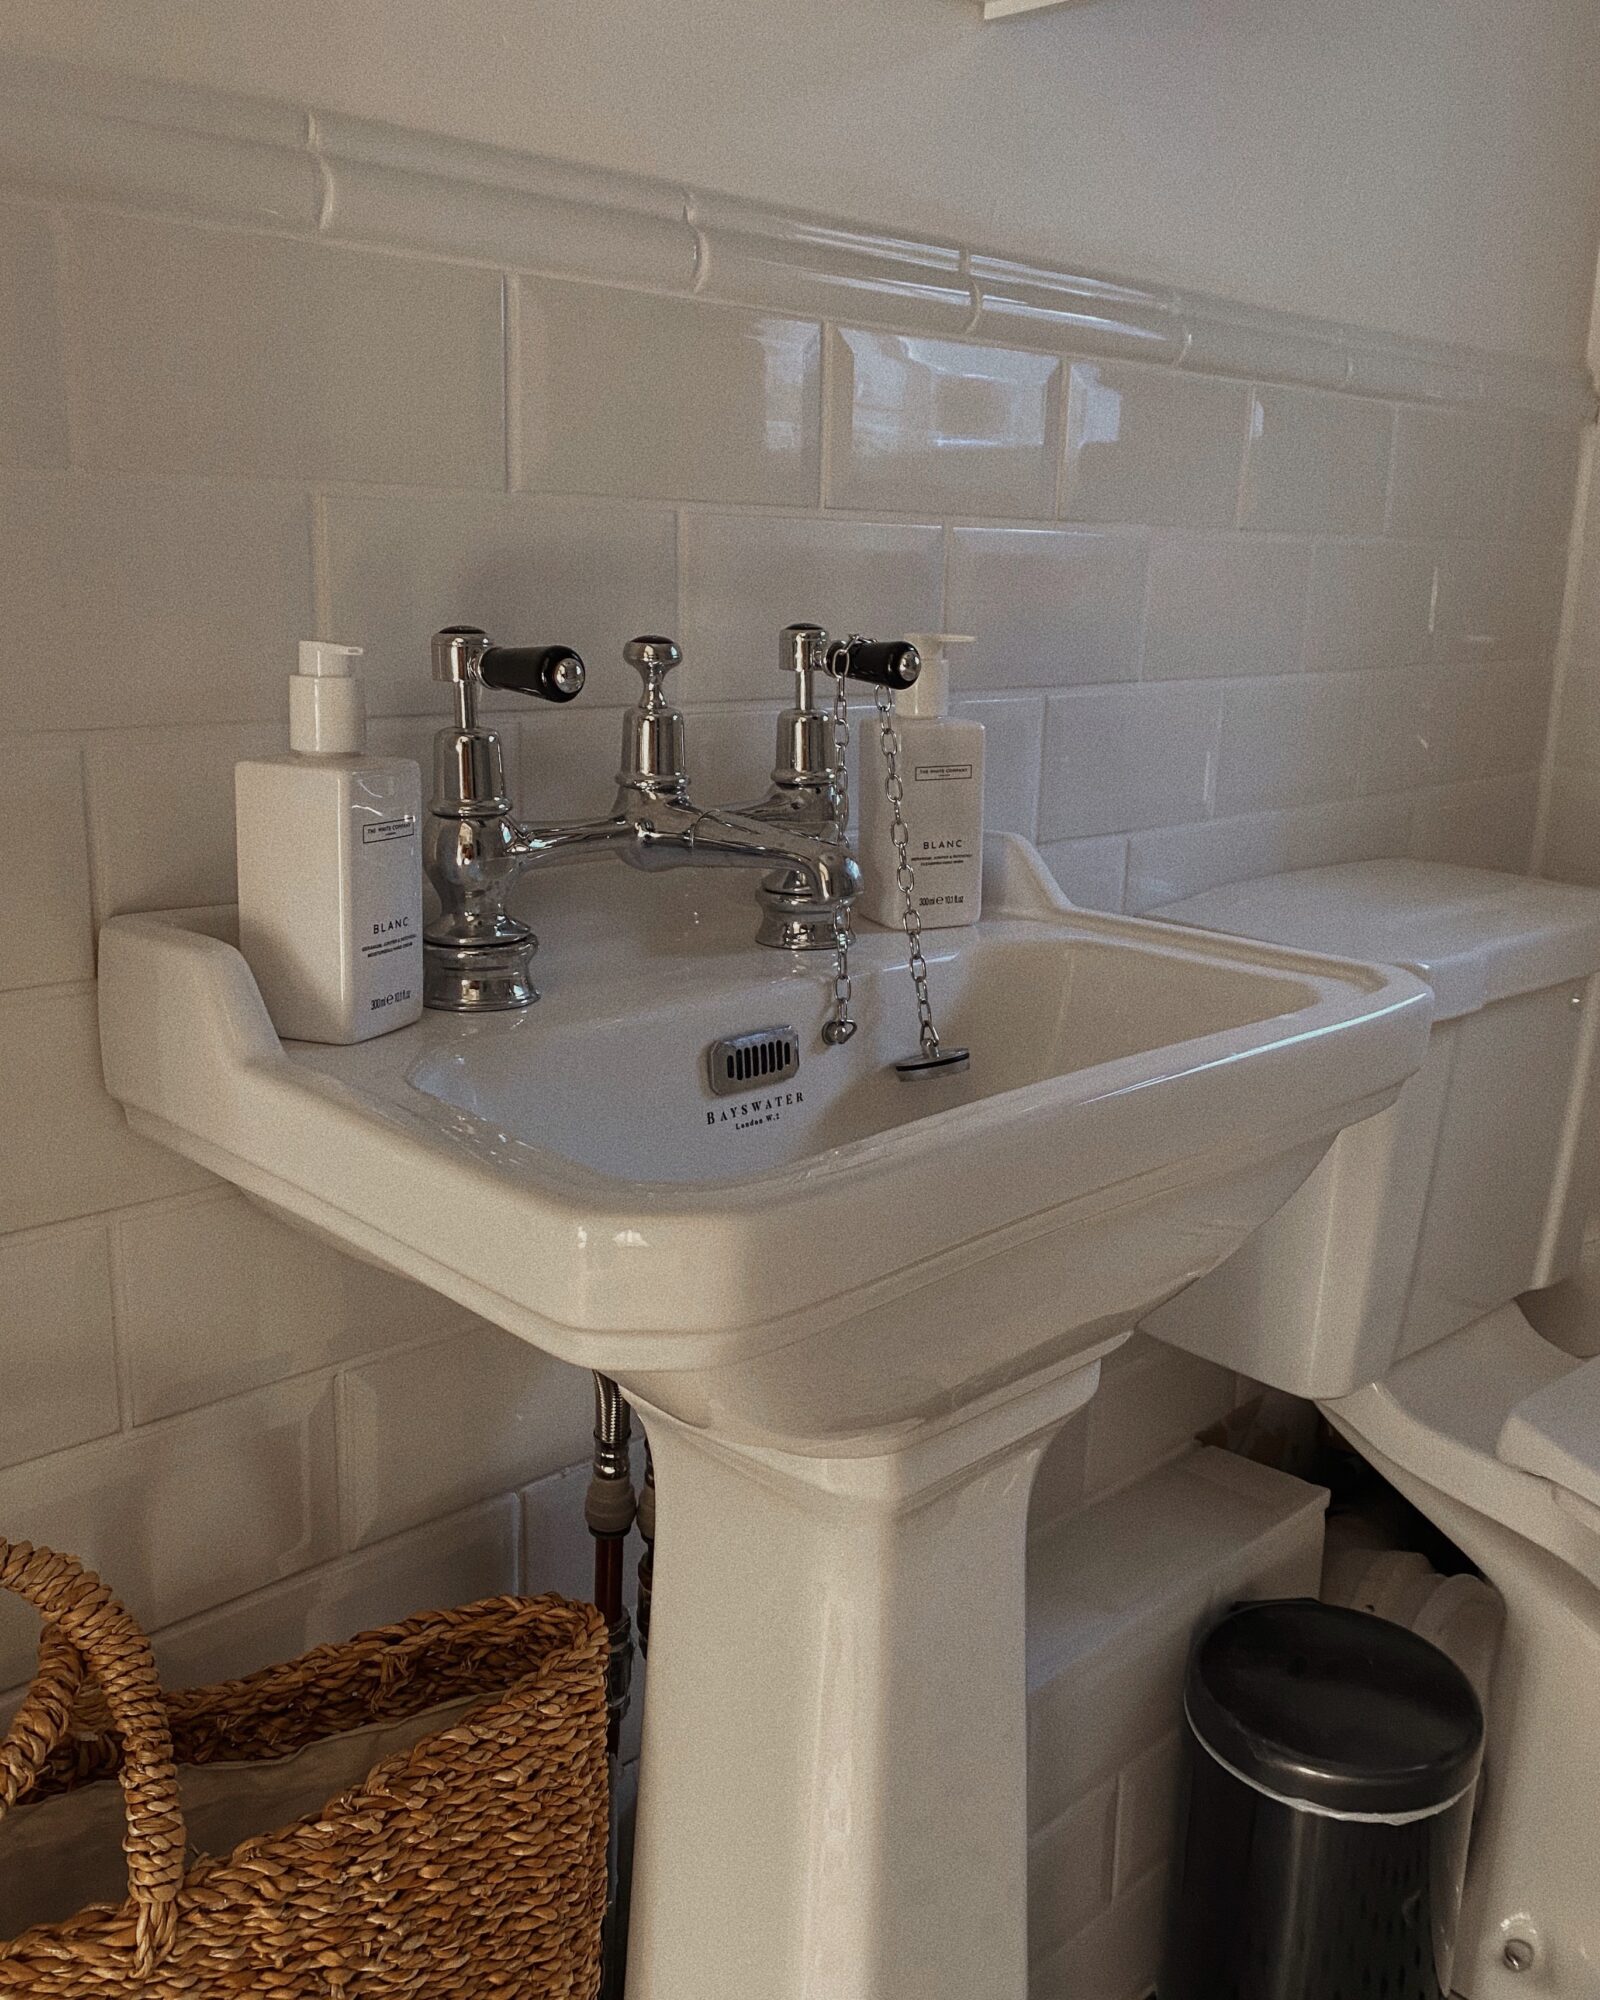
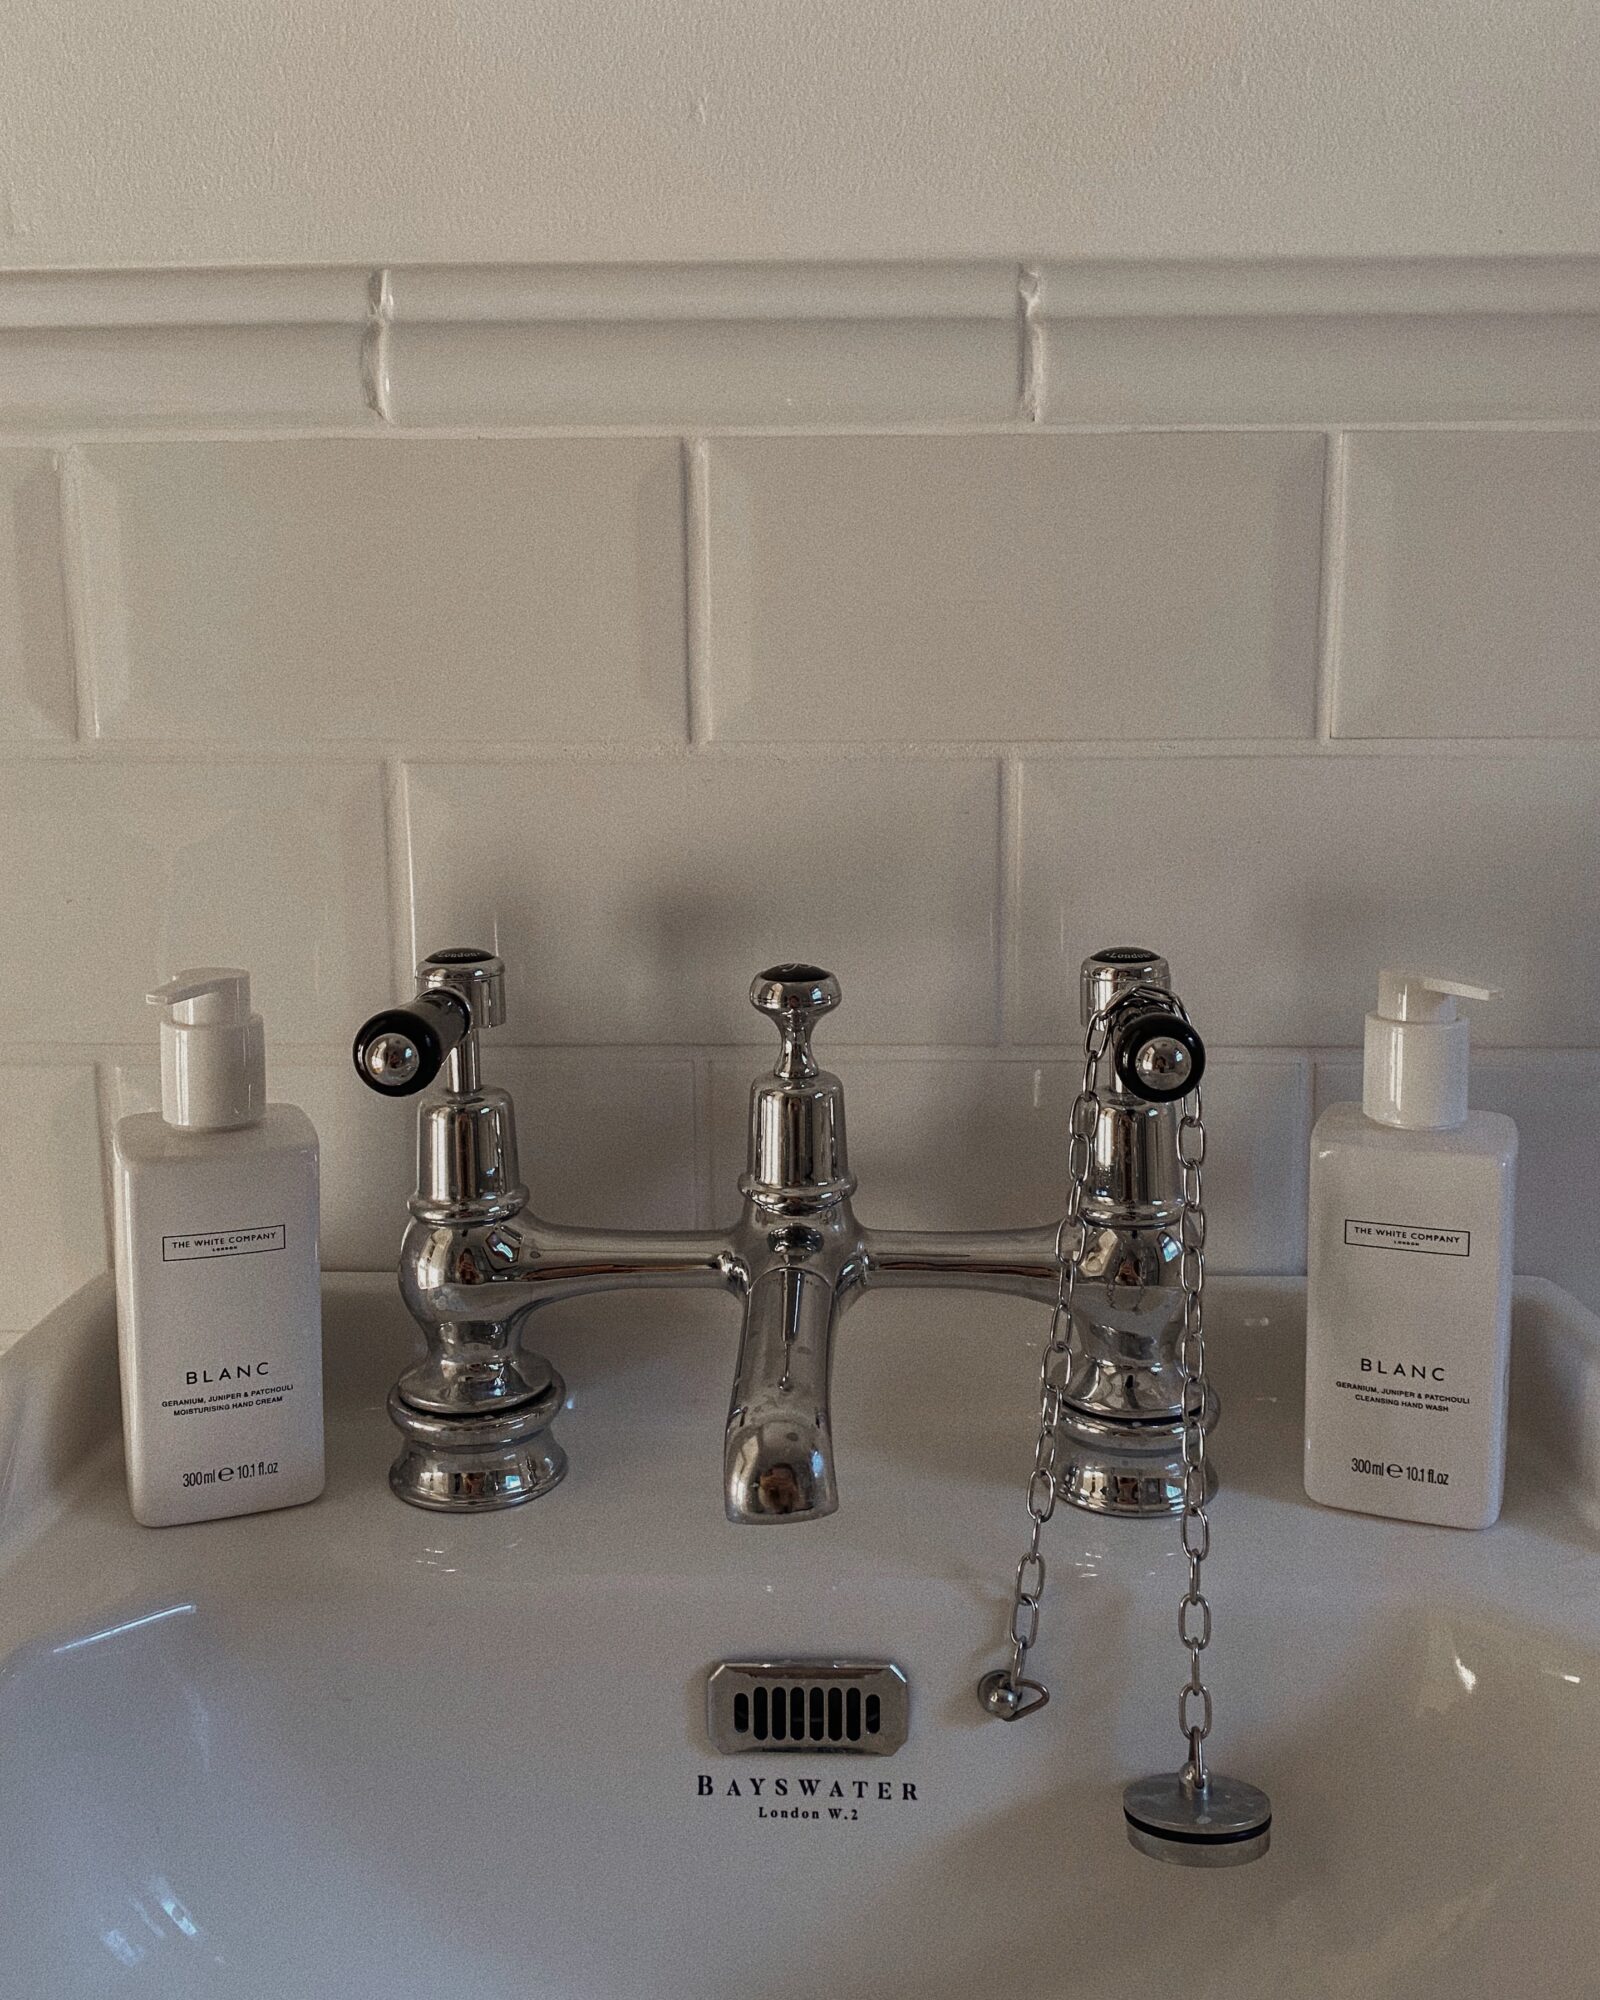
This little area has to be my most favourite of the whole bathroom. We went with traditional style sink and toilet and despite them feeling completely normal, we did go for the smallest size – kind of like your down stairs toilet size- to maximise on space in the room. These taps are my pride and joy! I really wanted something that went with the traditional style of the sink whilst still being practical – a mixer tap. However all of the mixer taps had a rounded spout with the taps at an angle either side which I wasn’t keen on! In the end I found this set which allows you to turn the taps on and off separately but mixes the flow. I think they work perfectly with the sink and actually love how they fill up so much space at the back making them a real centre piece. I was super surprised at how expensive taps are actually! These were the most expensive part of the whole bathroom!
We decided to only tile so far up the wall as we wanted to put my trusty bathroom cabinet up and decided that it might look weird over tiles and it would most likely be a pain to do so it was kind of design, kind of practicality! However when we finished the tiling – the royal we – when Jack finished tiling, it just looked strange to have a straight edge! So we went on a search which led us back to Topps Tiles where we purchased this edging – not sure what the official name of it is! I have been informed that it’s actually upside down but we tried it both ways and we both preferred it this way! Just call us rule breakers!
The bathroom cabinet is actually from John Lewis and I was super surprised by the price as so many other cabinets we looked at were super pricey! Plus I always feel like you can trust John Lewis products!
I finished the sink off with these beautiful White Company soaps! I thought they went well with the tiles and the monochrome look PLUS because the bottles are opaque you just know I’ll be re filling them with cheaper soap and hand cream once they run out though can we all be honest – no one uses the hand cream, its just for show.
Click on the images below to shop!
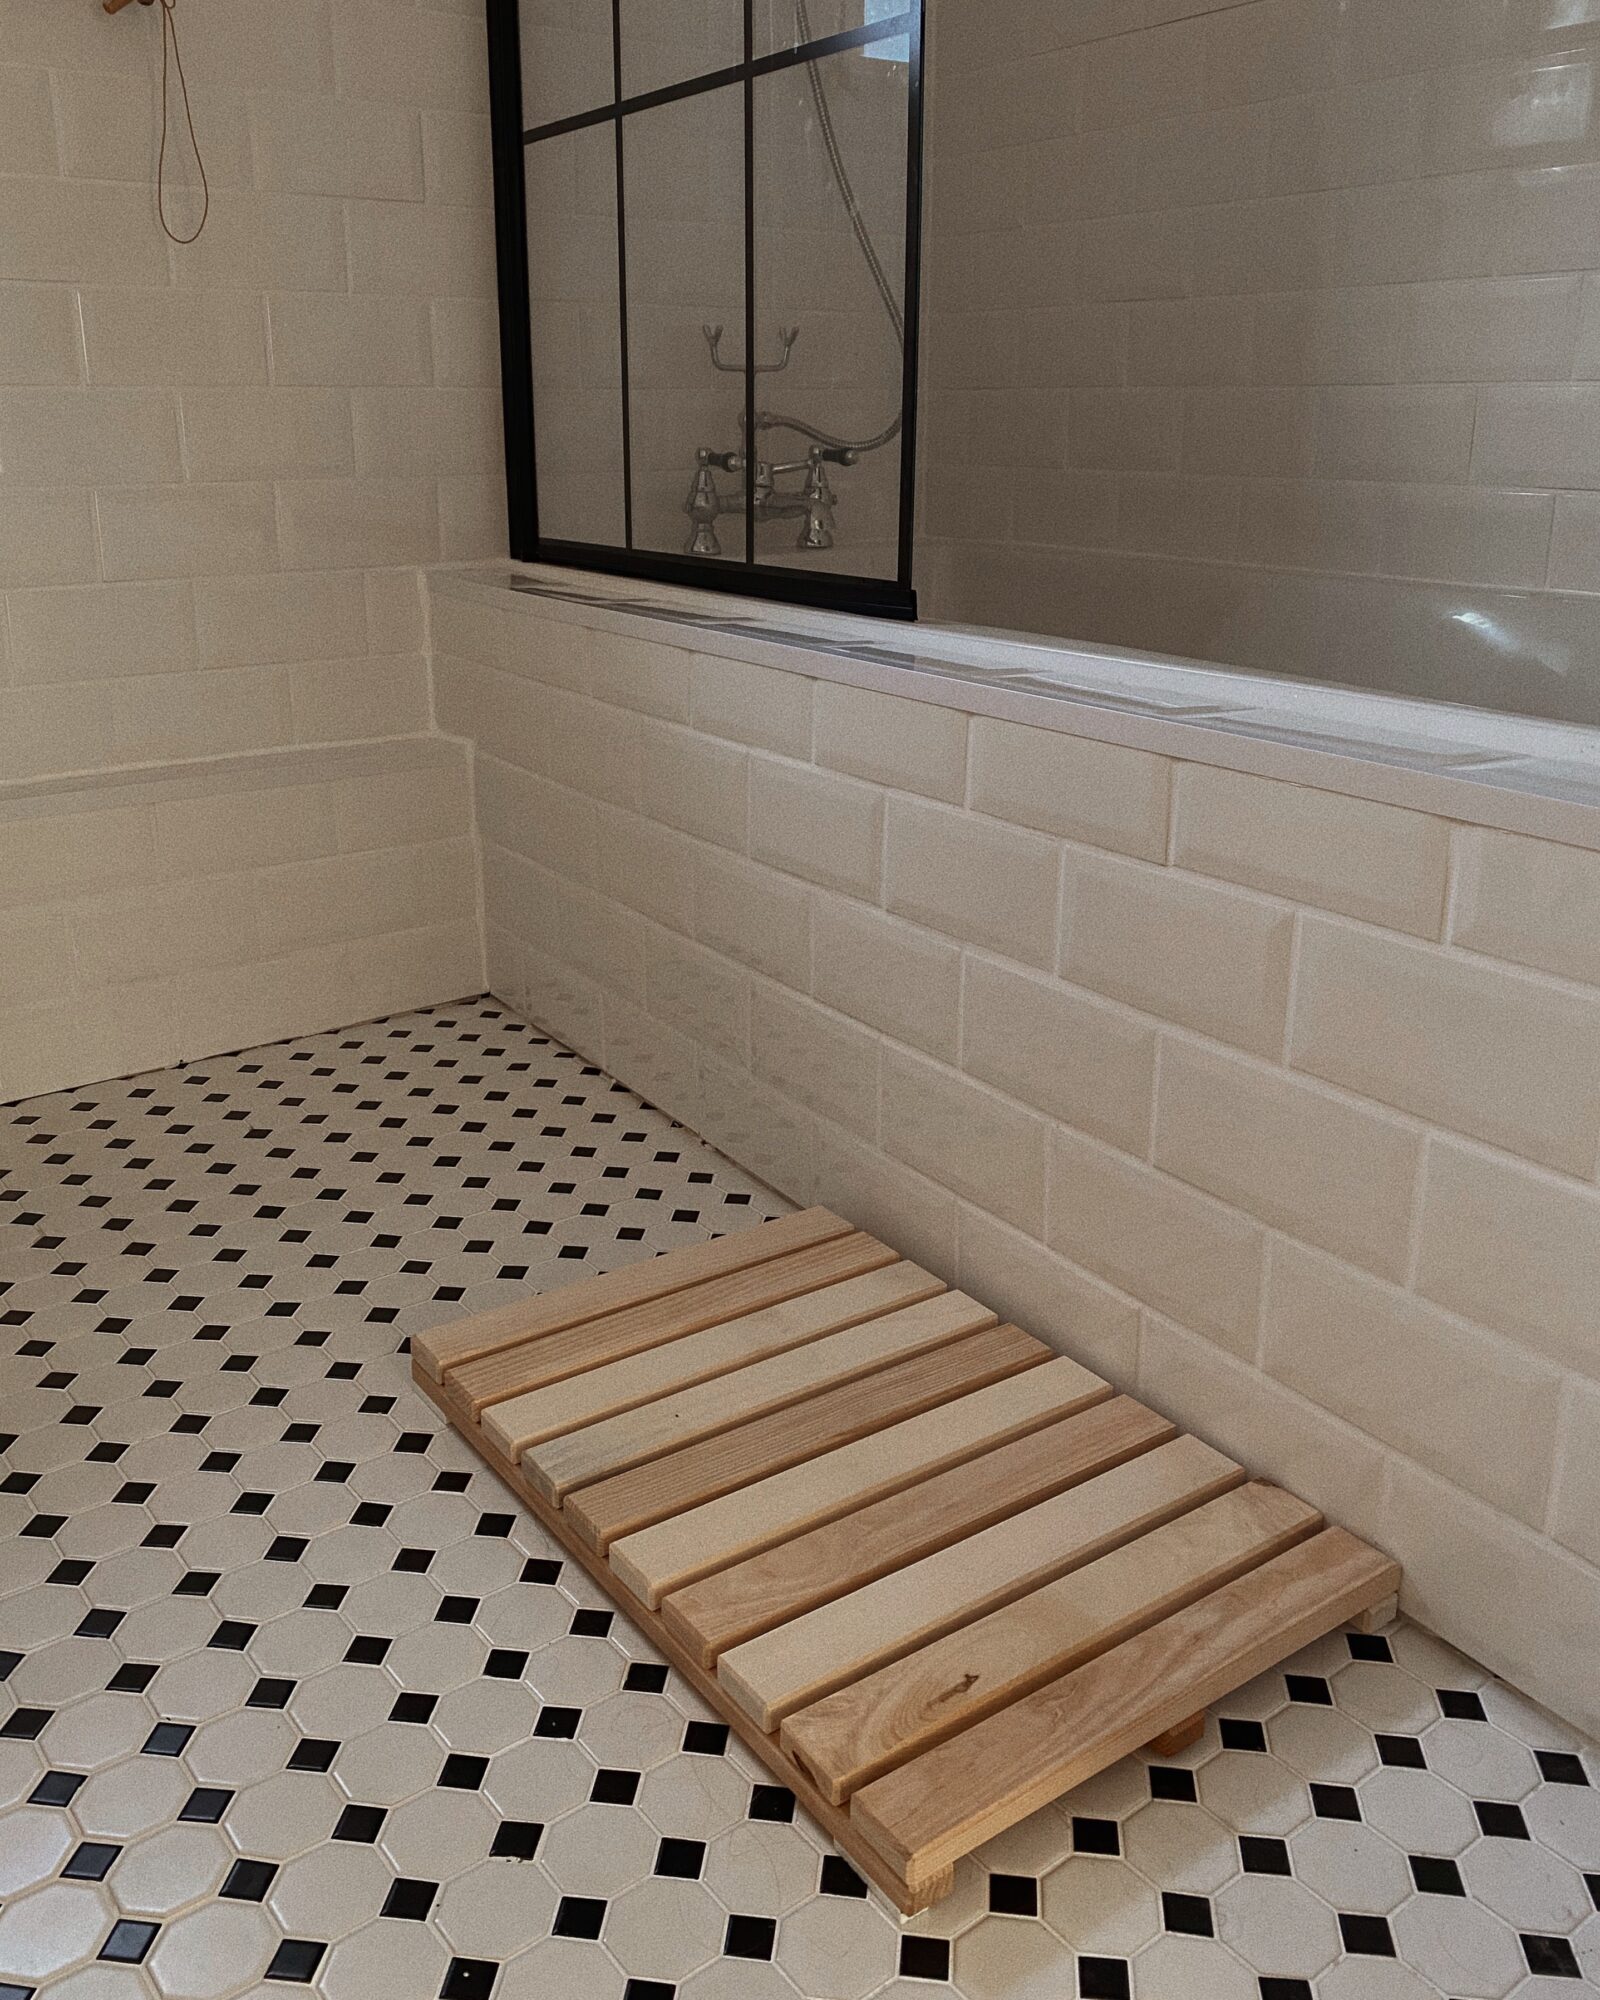
I ordered this bathmat WAY before the bathroom was finished and actually couldn’t return it – always check the made.com refund policy guys! I thought the pine would be weird with the other slightly darker and warm toned browns in the room but it works perfectly and let me tell you now, a wooden bath mat is a game changer. it doesn’t get dirty, it dries quickly . . you need one!
We went for white grout on the floor again but I wasn’t sure if it would get dirty so I might live to regret that. Thought I do feel that it really lightens the room up having the white grout.
Click on the images below to shop!
Click on the images below to shop!
Click on the images below to shop!
I really feel that the Topps Tiles and the finishing touches make this bathroom! The tile trim, the beautiful patterns and the warm brown tones work perfectly! I went for this laundry basket from H&M Home because it fits in the gap between the door and sink perfectly plus it’s kind of a tote shape so it sits against the wall and doesn’t eat into our precious space!!! I know the bathroom bin isn’t the most aesthetic but we never had one in there before and actually they are soooo handy, I didn’t realise how much I was missing having a bathroom bin before!!
I’m so proud of Jack for doing our DIY bathroom! Now he’s done this I have a whole list of things I want him to do!!! Would you guys do a DIY bathroom !? It kind of feels more special because we (Jack) did it ourselves!
SHOP THE POST
Click on the images below to shop
CHECK OUT MY DAILY OUTFITS HERE
DID YOU KNOW I’M ALSO ON PINTEREST?!
PS YOU MIGHT ALSO LIKE 3 Loungewear Sets For Winter OR The Ultimate Christmas Gift Guide

